Memory Keeping
How to Preserve Kids’ Artwork Without Keeping Every Piece
Disclosure: This guide was written by Kiddings, an app for preserving childhood stories. The method works with a phone camera, folders, boxes, a notebook, or another system; you do not need Kiddings to use it.
Learn how to sort, photograph, caption, and store kids’ artwork without keeping every piece, while preserving your child’s words and the stories behind it.
The simplest way to preserve kids’ artwork is to give every piece one of four destinations:
- Display it now because your child is proud of it or the family enjoys it.
- Keep the original because the physical object matters.
- Photograph it and save the story when the idea matters more than the paper.
- Let it go when it is practice, repetition, or no longer meaningful to its maker.
Photographing everything merely moves the pile to the camera roll, beside 38 photographs of a parking receipt. Instead, make a deliberate collection with context: maker, age, title, explanation, and why the piece earned a place.
Start with one temporary landing place
Children’s art tends to arrive when nobody is ready to archive it. It emerges from backpacks while dinner is burning, appears in the car after pickup, or is presented while still wet enough to transfer half its emotional significance to your sleeve.
Choose one temporary landing place: a shallow tray, open folder, or shelf. It is a waiting room where art can dry and adults can postpone decisions without forming piles in three rooms.
When the container fills, sort it. A physical boundary beats promising to “deal with the art at the end of term,” a period containing concerts, lost water bottles, and no spare judgment.
Before anything enters the tray, separate artwork from paperwork that needs action. Permission slips, unfinished assignments, teacher notes, and the worksheet due tomorrow should not disappear into the sentimental system.
Ask for the story while it is still available
A drawing may look self-explanatory to its creator and entirely theoretical to everyone else. Ask one or two neutral questions before supplying your own interpretation:
- “Tell me about this.”
- “What is happening here?”
- “Who or what is this part?”
- “Which bit do you like best?”
- “Did anything make you decide to draw it?”
- “What would you call this picture?”
Avoid turning the conversation into an art examination. If the child says it is “just lines,” then it is just lines. If they do not want to explain it, keep or photograph it without a statement. The goal is to preserve their account, not extract an artist’s note before snack.
Write the title or a few exact words on a separate label, in a journal entry, or in the digital caption. For a physical original, avoid writing across the artwork. If you add a small identifying note to the back, first consider the material and whether the mark could show through or damage a delicate surface.
Kiddings is built around Quotes, Questions, Moments, and Milestones. A child explaining a picture might become a Quote or Moment with a photo, child, age, date, and context. Kiddings is not an artwork scanner or specialist conservation service; the value is keeping the picture with the childhood story around it.
Use a four-way sorting system
Sort the landing tray with four temporary labels: display, original, photo, release. You can use the floor, four chairs, or four notes on a table. No storage product is required.
1. Display
Choose a small number of current pieces for a rotating display. A rail, clips, fridge space, noticeboard, or a few reusable frames can work. Set a limit based on the available space rather than the rate of production.
Let the child help choose. Their choice may matter more than the piece an adult finds most polished. Add name and date nearby if useful, but avoid personal details on art visible publicly or in shared photographs.
When a new piece goes up, the old piece moves to the original, photo, or release group. A display is a stage, not a second storage system.
2. Keep the original
Keep originals when physical qualities matter: a handprint, texture, handwriting, folded mechanism, collaboration, or a piece your child values. You might also keep examples from different periods or interests.
A small annual selection is easier to protect and revisit. There is no correct number; use what the folder can hold without crushing, folding, or becoming impossible to browse.
Ask the child which pieces they would save if the folder had room for only a few more. Their answer may differ from yours. You can each choose some. It is a family archive, not a jury prize.
3. Photograph and save the story
Use a photograph when you want the visual record but do not need the physical object. This works well for high-volume drawings, temporary constructions, blackboard art, pavement chalk, models made from recyclable packaging, and work that is already deteriorating.
A photograph loses texture, scale, movement, the back, and sometimes true color. Take several views when those details matter. For a three-dimensional piece, include front, back, side, and a view showing scale.
Then attach or record the child’s explanation. “Blue painting, age six” is searchable. “A map of the route our cat takes when everyone is asleep,” followed by the child’s exact explanation, is memorable.
4. Release
Some art can leave after being enjoyed. Repeated coloring pages, experiments the child does not value, damaged scraps, and pieces nobody can identify need not become family holdings.
Involve the child when a piece matters to them. Do not secretly discard a declared treasure and say it has “gone to a farm.” They need not make a permanent decision about every mark; offer a clear container and a few choices.
Reuse or recycle materials where local rules and the materials allow. Remove staples, tape, glitter, paint, or mixed craft components if your recycling service does not accept them. When uncertain, check local guidance rather than assuming all paper art belongs in paper recycling.
How to photograph children’s artwork with a phone
You do not need studio equipment. A careful, consistent phone photograph is enough for most family records.
- Wait until the work is dry. Wet paint, glue, and loose materials can move when the piece is handled.
- Use soft, even light. Bright indirect daylight often works well. Avoid direct sun, strong glare, and a shadow from your own phone.
- Choose a plain background. Use a clean surface that contrasts with the paper edge.
- Place the artwork flat when the material allows. Do not force curled, brittle, heavily textured, or fragile work flat.
- Hold the camera parallel to the page. This reduces the trapezoid shape caused by photographing from an angle.
- Fill most of the frame, but keep every edge visible. A small border makes later cropping easier.
- Check focus and color before moving on. Zoom in to make sure pencil lines and handwriting are legible.
- Photograph the back when it contains writing. A teacher’s note or child’s second drawing may be part of the piece.
- Take detail views when needed. Collage, texture, hinges, and small text may need closer photographs.
- Rename or caption it immediately. At minimum include child, approximate date or age, and title or description.
Avoid color-changing filters. Cropping and straightening are fine; keep the unedited image when accuracy matters.
A caption that will still make sense later
Use this compact formula:
Child + age + date + their title + exact explanation + one line of context
For example:
Mara, age 5 years 2 months, October 8, 2026. “The Museum of Lost Socks.” Mara said the red room was where single socks waited for their families. She drew it after helping sort laundry.
Mara, the artwork, and the quotation are fictional. All named examples and child quotations in this article are illustrative, not customer stories.
Notice that the caption does not announce what the drawing proves about Mara’s imagination, intelligence, mood, or development. It records what she made and said. Leave interpretation out unless your child offered it themselves.
If you did not hear the explanation at the time, say so. “We think this was made during the spring term” is more trustworthy than a precise story reconstructed years later.
How to organize the digital photographs
Pick one home for artwork images instead of leaving them mixed into the general camera roll. That home might be a dedicated album, folders in storage you already use, a family document, or a memory app.
A simple naming pattern is enough:
2026-10-08_Mara_age-5_Museum-of-Lost-Socks
Organize by child and year, with optional folders for kept originals, photographed-only pieces, and book selections. Use a few stable labels. Elaborate tagging works beautifully until the third Thursday.
Keep a second copy of files you would be upset to lose, stored separately from the phone used to make them. Check that the copy can actually be opened. A backup plan should include occasional restoration checks, not just a comforting icon.
For multiple children, preserve the maker’s name and age in the filename or entry. Shared projects can be labeled as shared rather than duplicated into several mysterious copies. For a broader family system, see how to organize childhood memories for multiple children.
How to store selected paper originals
Ordinary home storage cannot promise museum-level preservation, but a few cautious choices can reduce avoidable damage.
The Library of Congress guidance for works on paper recommends clean hands and work areas, keeping food and drink away, limiting light, stable storage, and supportive enclosures. It warns against paper clips, rubber bands, self-adhesive tape, and glue. It also notes that powdery or flaking media can react differently to some sleeves.
For robust, flat drawings, use a supportive folder or document box large enough to avoid folding. Keep it away from direct light, leaks, damp, radiators, vents, and environmental extremes. Label the enclosure, not the art.
Do not laminate, spray, varnish, tape, glue, or repair a piece because a social post calls the method archival. If it is fragile, powdery, moldy, badly torn, stuck, or irreplaceable, photograph it and ask a qualified paper conservator before treatment.
Oversized or three-dimensional work may require material-specific support rather than an improvised coating.
What to do with sculptures and oversized projects
Some creations appear to have been designed around the dimensions of your hallway.
Before dismantling a large or three-dimensional project:
- photograph it from several sides;
- include one view showing its size;
- record the materials if known;
- ask the child to name it and explain how it works;
- save a short video only if movement or demonstration is essential;
- keep one small component if that has meaning and is safe to store;
- decide with the child whether it can be reused, recycled, dismantled, or discarded.
If you keep it, choose a protected location that does not crush other work or create a safety problem. Reassess it at a planned interval. “Permanent shelf resident” should be a conscious decision, particularly when the sculpture includes uncooked pasta.
Make a small annual art-and-story collection
At the end of a school year or calendar year, choose a manageable set of photographs and originals. Aim for variety rather than a complete inventory: different materials, recurring interests, one ordinary piece, one child favorite, and one selection that carries a good story.
You might create:
- a slim physical portfolio of originals;
- a private digital album with captions;
- a simple document with one image and story per page;
- a printed photo book from a provider you choose;
- a combined childhood keepsake containing artwork alongside Quotes, Questions, Moments, and Milestones.
Kiddings can include a photograph of artwork within a childhood story and organize the entry by child and age. Parents can backdate entries and later find them through timelines, search, filters, favorites, and tags. Parents can invite selected family members as viewers or contributors. Family members see only entries tagged for family, not the parent’s whole private journal.
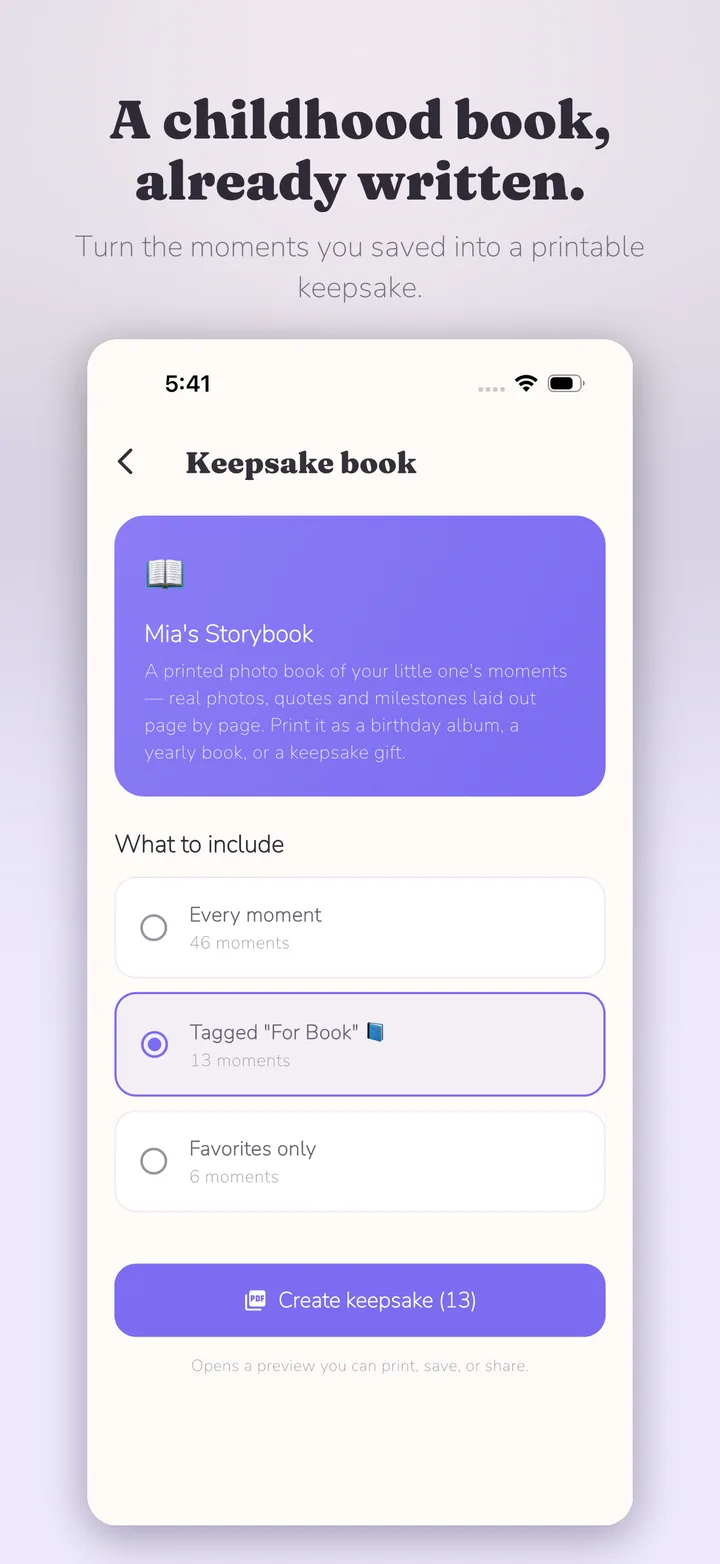
Selected memories can also become a print-ready PDF. You choose an online printer or neighborhood print shop; Kiddings does not print, order, or ship the book. Choosing your provider may offer more control over format, paper, quantity, timing, and potentially cost, but actual cost and quality vary by printer, region, specifications, binding, and shipping. A PDF page records the photographed artwork and story; it does not replace the physical original or specialist art reproduction.
For help choosing and arranging a final selection, read how to turn family memories into a keepsake book.
A 30-minute rescue plan for an existing pile
Do not begin by photographing everything. Set a timer and make the pile smaller first.
- Five minutes: remove school notices, blank paper, duplicates, and obvious recycling.
- Ten minutes: select the physical originals you and your child most want to keep.
- Ten minutes: photograph a limited group whose stories or images matter, adding a brief name/date caption.
- Five minutes: place the originals in their folder, move photos into the chosen album, and leave unresolved pieces in the landing tray.
Stop when the timer ends. Repeat another day if needed. A partly processed pile in one known place is better than an ambitious archive spread across the dining table until someone needs to eat.
Frequently asked questions
Should I keep every piece of my child’s artwork?
No. Display some, keep a small number of meaningful originals, photograph pieces whose image or story matters, and release the rest. Involve your child in choosing when practical, especially for work they value.
Is photographing artwork the same as preserving it?
No. A photograph preserves an image, not the original material, texture, scale, back, or moving parts. Keep the physical piece when those qualities matter.
What information should I save with children’s art?
Record the child’s name, age, date or approximate date, their title, exact explanation when available, and one line about the setting or reason it mattered.
How should I store chalk, pastel, or fragile artwork?
Handle loose material minimally. Photograph it, avoid general-purpose sprays, and seek material-specific guidance or a paper conservator if the original matters.
Can I turn photographed artwork into a book?
Yes. You can arrange photographs and captions in a document, photo-book service, or memory system that supports export. Check image quality and printer specifications before ordering. Keep separate copies of the source images and do not assume the printed book replaces fragile originals you still value.
Keep the picture, the object, or the story—on purpose
The goal is not an empty house or a perfect archive. It is a collection your family can understand and revisit.
For each piece, decide whether the value lives in seeing it now, holding the original, remembering the image, or hearing the child’s account. Sometimes the answer is all four. Often it is only one.
Make that choice while the story is still close enough to ask. Then label what you keep, protect the few originals that matter, and let the rest of the paper return to being paper.

Start with one moment today.
Kiddings is a private, ad-free storybook for your child’s words and little moments.